UIU Robotics Club
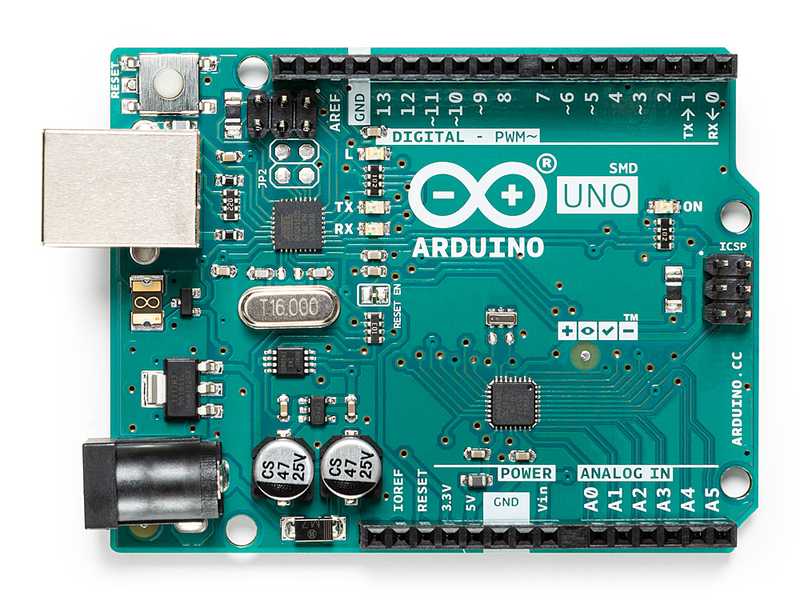
Arduino is a small programmable electronic board.
You write code on a computer and upload it to the board.
The board then controls electronic parts like LEDs, sensors, motors, etc.
::contentReference[oaicite:0]{index=0}
HIGH = 5V (ON)LOW = 0V (OFF)| Pin | Purpose |
|---|---|
| 5V | 5V output |
| 3.3V | 3.3V output |
| GND | Ground |
| VIN | External power input |
Every Arduino program has two main functions:
void setup() {
  // runs once
}

void loop() {
  // runs forever
}
setup()
Runs one time only
Used to configure pins
loop()
Runs again and again
Used for main logic
Arduino Uno has a built-in LED connected to pin 13. No wiring needed.
void setup() {
  pinMode(13, OUTPUT);   // set pin 13 as output
}

void loop() {
  digitalWrite(13, HIGH); // LED ON
  delay(1000);            // wait 1 second
  digitalWrite(13, LOW);  // LED OFF
  delay(1000);            // wait 1 second
}

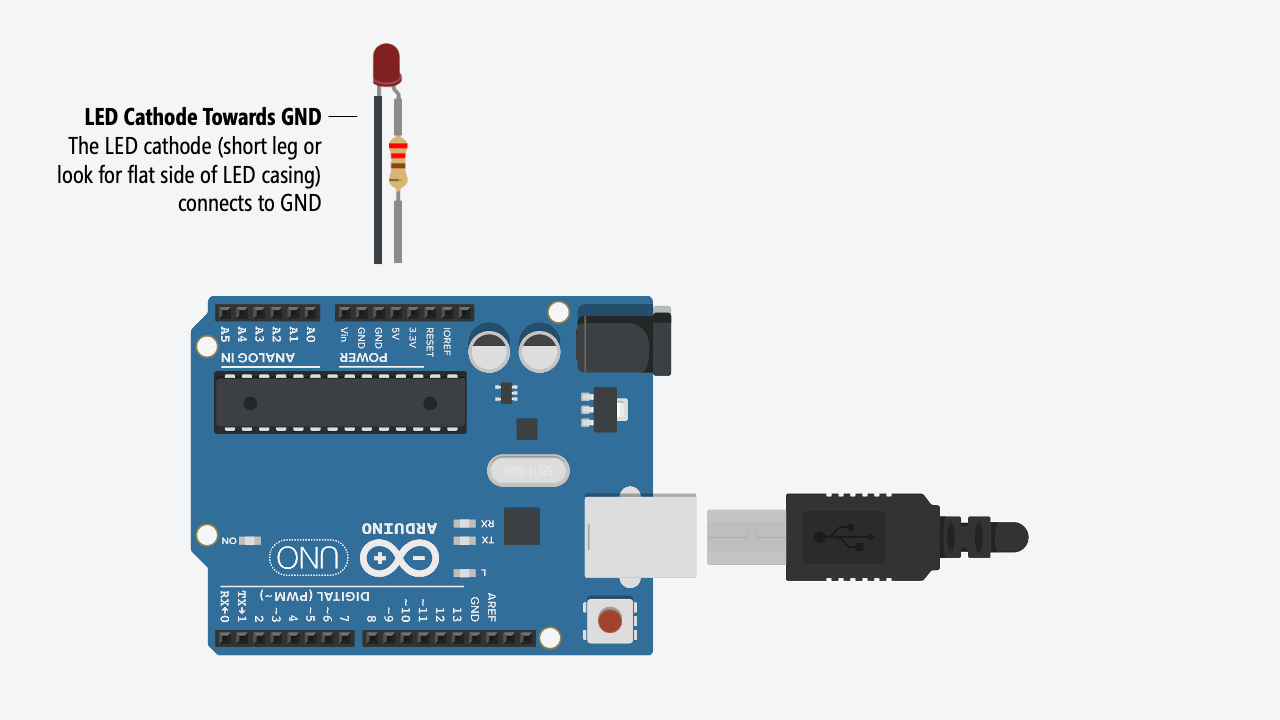
int ledPin = 7; // LED connected to pin 7

void setup() {
  pinMode(ledPin, OUTPUT);
}

void loop() {
  digitalWrite(ledPin, HIGH); // LED ON
  delay(1000);
  digitalWrite(ledPin, LOW);  // LED OFF
  delay(1000);
}
pinMode(pin, OUTPUT);    // set pin type
digitalWrite(pin, HIGH); // ON
digitalWrite(pin, LOW);  // OFF
delay(ms);               // wait
setup() runs onceloop() runs forever